Start with the official owner's manual, measure the roof, size it from your loads, and know what the warranty says before you drill.
By James JonesPublished Updated
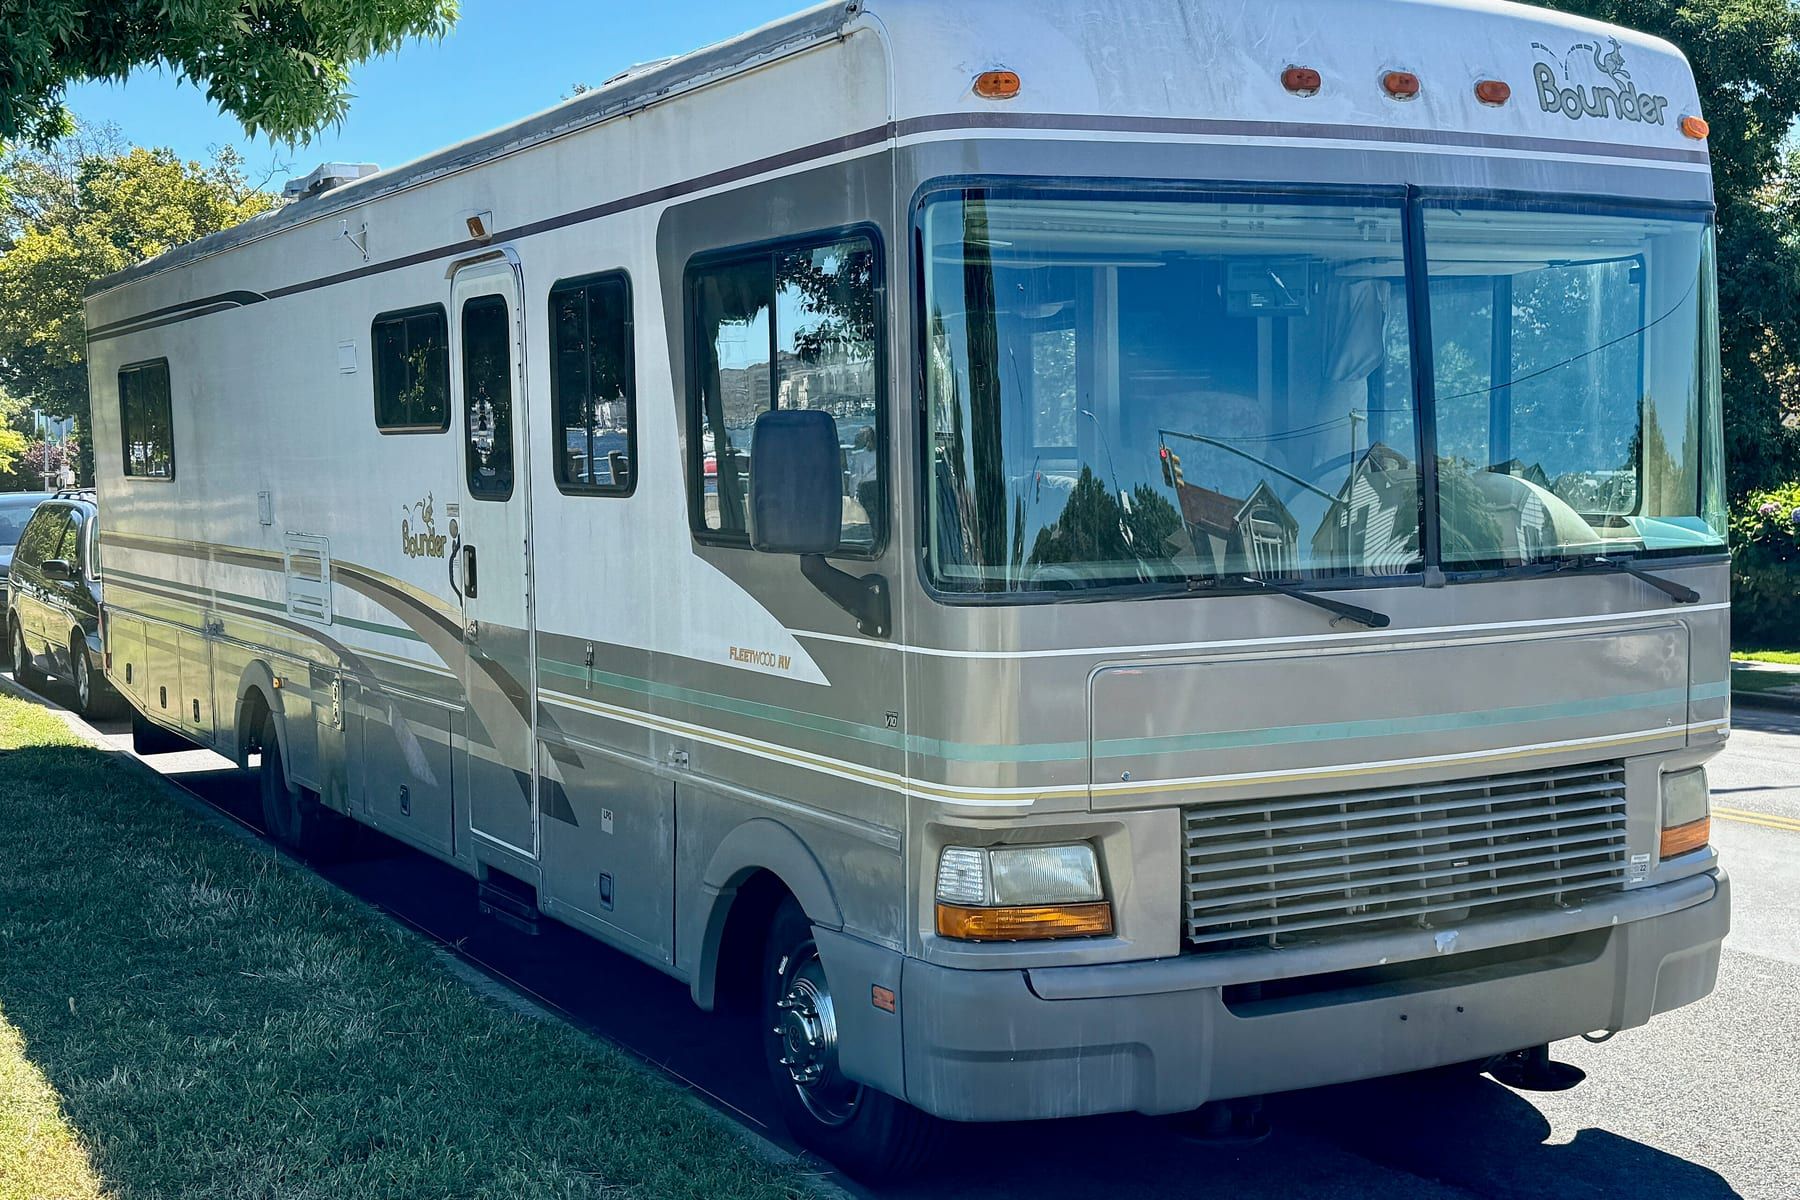
A 2000 Fleetwood Bounder. Every year and floor plan has a different roof, so measure yours.Photo: Oleg Yunakov, CC BY-SA 4.0
Fleetwood doesn’t publish a solar-ready wattage for its roofs. So every Bounder, Discovery, or Southwind solar job starts the same way: with the owner’s manual and a tape measure.
Here’s the order we’d do it in, and the two parts we’d start with.
Step 1: Get your manual
Fleetwood keeps owner’s manuals online going back decades. Our manual finder links straight to the right page on fleetwoodrv.com: 32 Bounder years from 1986 to 2019, 24 Discovery years, 46 Southwind years, and the combined gas and diesel manuals Fleetwood has published since 2020.
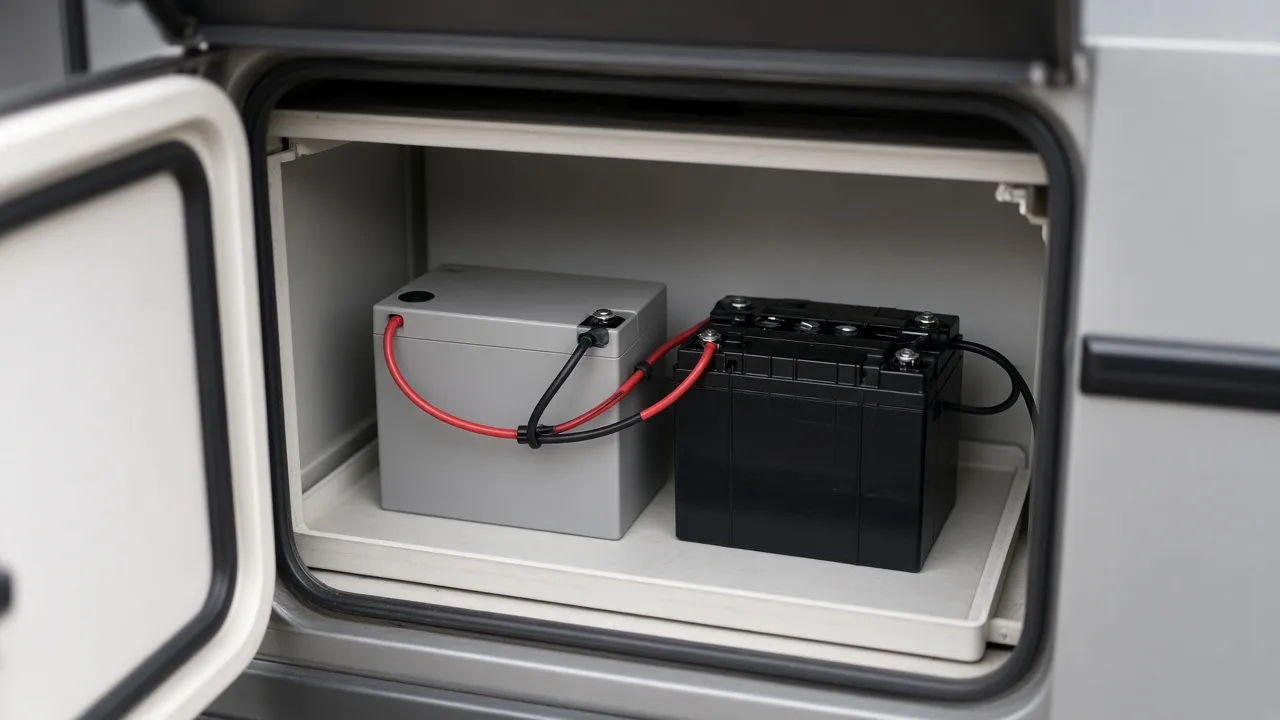
Start with the house electrical chapter. In the 2019 Bounder manual, that’s where shore power, the generator, the converter, and the two battery banks (chassis and house) are explained.
The same chapter warns that the coach electronics are voltage sensitive and that modifications can void the warranty. If your coach is still under warranty, call Fleetwood before you drill.
Step 2: Measure the roof
Roof layouts change by year and floor plan. Measure the open space between the air conditioners, vents, and antennas, and note where the ladder lands.
Write it down as rectangles, not one big number. The solar planner lays panels on the roof size you enter, and it’s much easier to work from a sketch.
Step 3: Size it from your loads
Pick the calculator profile that sounds like your coach. If it has a residential fridge, start from the luxury profile. If it has a two-way propane fridge, start from mid-size.
Then uncheck the air conditioning unless you plan to run it on a generator. That one box changes the answer more than anything else.
The parts we’d start with
The Bounder solar starter in our gear kits pairs the two products below. It’s a planning bundle, not a Fleetwood factory option.
Solar
Our pick
400 W solar kit
A first array that fits around most roof clutter.
400 WPanel rating
Why we like it
It's small enough to find room for between the air conditioners and vents, and at 4 sun hours it makes about 1,200 Wh a day after losses. That's half of the mid-size default day.
Who it’s for
Fleetwood owners with a two-way fridge who want to dry camp a night or two without running the generator at dawn.
Flaws but not dealbreakers
It won't keep up with a residential fridge by itself. If you have one, plan for a second kit or a bigger one from the start.
Battery
Our pick
Vatrer 12V 300Ah
Stays at 12 V, so the coach's wiring still makes sense.
3,840 WhStored at 12.8 V nominal
Why we like it
For compact and mid-size loads, the calculator picks this 3,840 Wh pack and keeps the system at 12 V. That means no new voltage for the fuse panel, the lights, or the slide motors.
Who it’s for
Gas Class A owners replacing the factory lead-acid house batteries.
Flaws but not dealbreakers
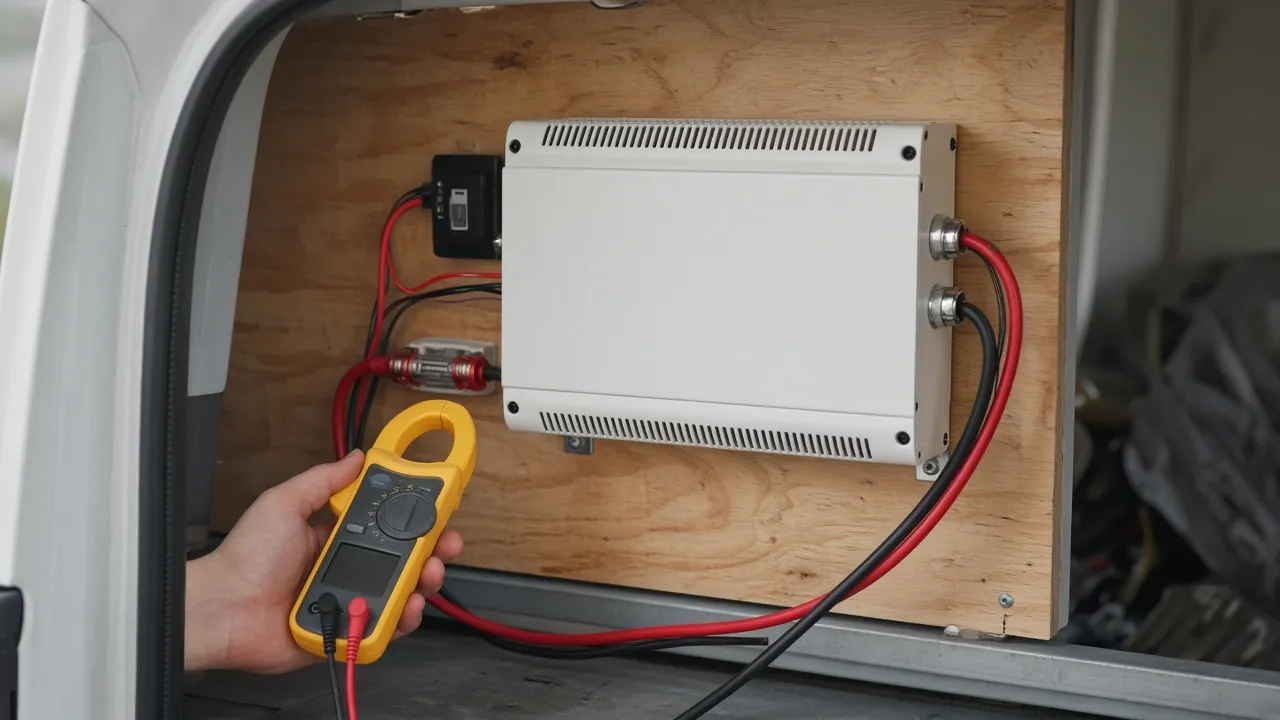
Check the converter's charge settings first. The stock converter in many older coaches was set up for lead-acid.
Who does the work
A 400 W kit and one battery is a fair DIY project if you know 12 V wiring. Anything bigger is a job for a pro. CCRV (Cross Country RV Solar) is the installer on Megawatt’s partners page, and the installer request form sends your rig and plan to James.
How much of the label you can actually use, what the Megawatt calculator picks for compact, mid-size, and luxury rigs, and where AGM still makes sense.